How to Use a Snow Blower: Step by Step Guide for 2026
Disclosure: We may earn a commission when you buy through links on this page, at no extra cost to you. As an Amazon Associate I earn from qualifying purchases. Learn more

Learn how to use a snow blower safely: prep, starting, clearing technique, cleanup and storage, plus pro tips and mistakes to avoid.
To use a snow blower, dress for the cold with eye protection and boots, clear the area of hidden objects, start the machine on a flat surface, then walk it at a steady pace in overlapping passes while aiming the chute downwind and away from people, cars and windows. Shut it off before clearing any clog, and clean and store it properly after each storm. That is how to use a snow blower safely in a nutshell, and the details below will help you clear your driveway faster, with less effort and without damaging the machine or your property.
Whether you own a light single stage electric model or a powerful two stage gas snow thrower, the basic routine is the same: prepare, inspect, start, clear in a smart pattern and put it away clean. This guide walks through each step, then shares pro tips and the common mistakes that cause most snow blower injuries and breakdowns.

Before You Start: Safety and Prep
Snow blowers are powerful machines with spinning augers and impellers that can cause serious injuries in an instant. Many serious injuries happen when someone reaches into a clogged chute or auger, even with the engine off, because tension in the system can make the blades turn suddenly. Make a firm rule that hands and feet never go near the auger or chute. Always use the clearing tool that comes with the machine, or a broom handle, and only after shutting the engine off and waiting for all parts to stop.
Before the first snowfall, walk your driveway and paths and pick up anything the snow will hide: newspapers, dog leashes, toys, extension cords, doormats and rocks. These objects can jam the auger, shear pins or be thrown at high speed. Mark the edges of the driveway, curbs, garden beds and walkways with stakes so you know where the hard surface ends once everything is white.
Dress for the job. Wear snug clothing with no loose scarves, drawstrings or long hanging ends that could catch in moving parts. Choose boots with good traction, warm gloves, eye protection and hearing protection for gas models. Keep children and pets indoors while you work, and never let anyone stand near the discharge chute.
Finally, check the weather and plan your timing. Clearing snow in several shorter sessions during a big storm is much easier on you and the machine than tackling a deep, heavy pile all at once.
How to Use a Snow Blower Step by Step
Follow these steps every time you use your machine. The routine takes a few minutes, but it prevents most problems and keeps your snow blower running for many winters.
Step 1: Read the manual and wear safety gear
Every snow blower is a little different, so start with the owner's manual. Learn where the controls are: the throttle or power button, the auger and drive levers on two stage models, the chute rotation control, the deflector and any speed settings. Find the clearing tool and learn how the safety features work, including the dead man controls that stop the auger when you release the handle.
Before each session, put on your gear: eye protection, warm gloves with good grip, sturdy boots and snug clothing. Add hearing protection for gas machines. It takes a minute and makes the job safer and more comfortable.
Step 2: Charge batteries or mix fuel correctly
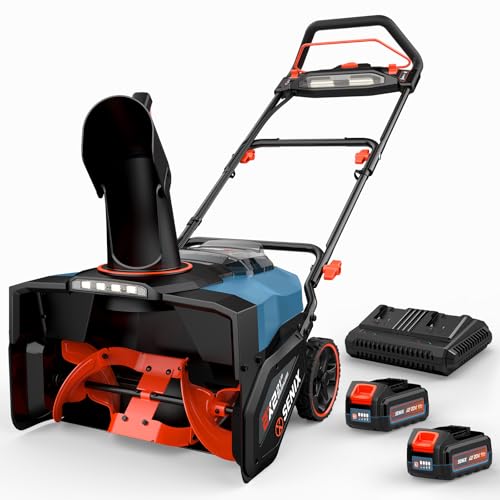
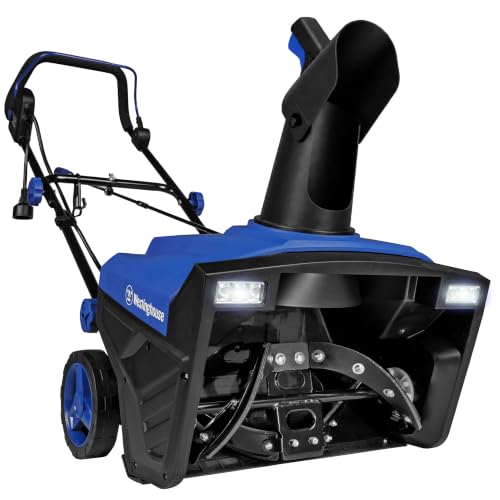
For battery snow blowers, charge the batteries indoors at room temperature and bring them out just before you start. Cold batteries lose capacity, so keep spares indoors and swap them as needed. For corded electric models, use a heavy duty outdoor extension cord rated for the machine's power, and keep it behind you as you work.
For gas models, use fresh fuel and the correct type. Four stroke engines use regular gasoline, while two stroke engines need oil mixed into the fuel at the ratio in your manual. Refuel outdoors, with the engine off and cool, and never refuel a hot engine. Adding a fuel stabilizer helps if the fuel will sit for more than a month.
Step 3: Inspect the tool before each use
Take a quick look over the machine. Check the auger and chute for ice or debris, make sure the shear pins are intact on two stage models and confirm that the skid shoes and scraper bar are in good shape. On gas models, check the oil level. Make sure the tires have enough air pressure if your machine has them.
Adjust the skid shoes to suit your surface. On smooth concrete or asphalt, set them low for a close clear. On gravel driveways, raise them so the auger housing rides above the stones and does not throw them.
Step 4: Start it the right way
Start the machine outdoors on a flat surface, never in a closed garage, because gas engines produce carbon monoxide. For gas models, set the choke and throttle according to the manual, prime the engine if needed and use the electric start or recoil starter. Let the engine warm up for a minute before engaging the auger.
Battery and corded models start with a push button or switch, often combined with a safety key or bail lever. Make sure the chute is pointed in a safe direction before you engage the auger.
If a gas engine will not start, do not keep pulling the cord until you are exhausted. Check the choke, the fuel level and the spark plug wire, and remember that stale fuel left over from last winter is the most common culprit.
Step 5: Use proper technique and stance
Stand behind the handle gripping the controls with both hands and walk at a steady, comfortable pace. Plan your route before you start: most people find it easiest to clear a strip down the middle of the driveway first, then work outward in overlapping passes, throwing snow toward the edges. Overlap each pass by a few inches so you do not leave ridges.
Always aim the chute downwind if possible, and away from people, cars, windows and the street. Adjust the chute angle as you turn so you are not throwing snow back onto cleared areas. In deep or heavy snow, slow down and take narrower passes rather than forcing the machine. On slopes, clear across the face of the hill rather than straight up and down for better control.
Let the machine do the work. Pushing down hard on the handle or forcing it forward tires you out and can lift the scraper bar off the pavement, leaving a layer of packed snow behind. On self propelled models, pick a drive speed that matches your walking pace and keep a light, relaxed grip.
Step 6: Shut down, cool down and clean
When you finish, let the auger run for a few seconds to clear remaining snow, then disengage it and turn off the engine or motor. For gas models, let the engine run briefly with the choke off to dry the components before shutting down. Wait for all moving parts to stop.
Brush snow and ice off the machine, especially from the chute, auger housing and controls. Wipe it down so moisture does not freeze overnight and lock the controls or auger in place.
Take a moment to check for anything that changed during the session: a loose bolt, a cracked scraper bar or a broken shear pin. Catching these small problems right away means the machine will be ready the next time it snows instead of failing at the start of the next storm.
Step 7: Store it correctly
Store the snow blower in a dry, ventilated place such as a garage or shed, away from the house's living areas if it uses gas. Bring batteries indoors and store them at room temperature. At the end of the season, follow the manual's storage steps: stabilize or drain the fuel on gas models, change the oil, check shear pins and belts and cover the machine to keep dust off.
Pro Tips for Better Results
Clear snow early and often. Fresh, light snow is much easier to throw than snow that has been driven on, packed down or partially melted and refrozen. During a big storm, go out every few inches rather than waiting for a foot of accumulation.
Spray the inside of the chute and auger housing with a silicone or non stick spray before each use. It helps wet snow slide through instead of building up and clogging, which saves time and frustration on heavy, slushy days.
Deal with the end of the driveway smartly. The ridge of packed snow left by city plows is the heaviest part of the job, so clear it in small bites, and if possible, clear the area to the side of the driveway entrance before the plow comes so less snow is pushed in.
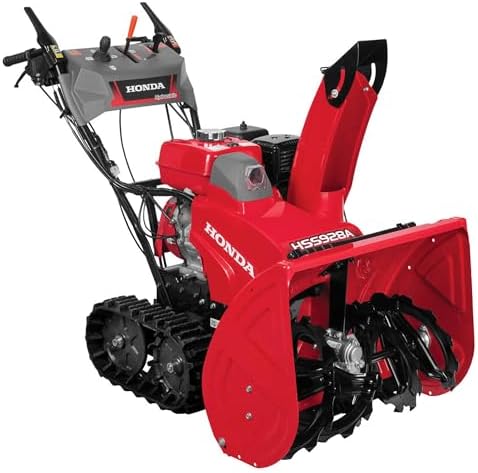
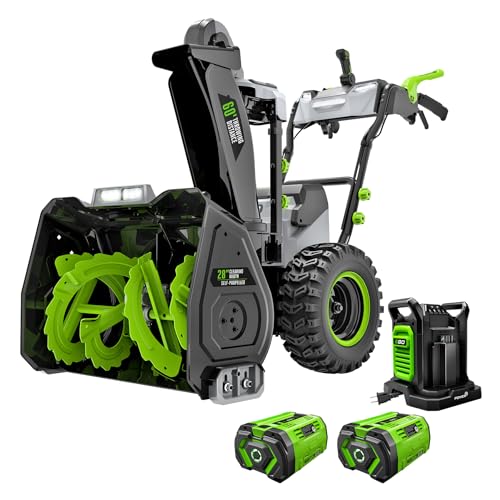
Match the machine to the job. Light single stage blowers are perfect for short driveways and walkways with modest snowfall, while two stage machines handle long driveways, deep snow and wet, heavy accumulation. If you are unsure which suits you, our guide to the best snow blower for homeowners compares the main types.
Older users and anyone with limited strength should look for lighter, self propelled or battery models with easy starts. Our picks for the best snow blower for seniors focus on comfort and control.
Common Mistakes to Avoid
The biggest mistake is clearing a clog by hand. Even with the engine off, the auger or impeller can move suddenly when you release a jam. Always turn the machine off, wait for parts to stop and use a clearing tool.
Running a gas snow blower in a closed garage is another dangerous error, because carbon monoxide can build up quickly. Start and run it outside, and let it cool before storing.
Many people throw snow in the wrong direction, blasting it onto cars, windows, the street or a neighbor's sidewalk. Plan the chute direction before every pass.
Forcing the machine through deep, heavy snow at full speed can bog down the engine, break shear pins or strain the motor. Slow down and take smaller bites instead.
Finally, skipping maintenance shortens the life of any snow blower. Old fuel, low oil, worn scraper bars and missing shear pins cause most mid winter breakdowns, usually right when you need the machine most.
Frequently Asked Questions
How often should I use a snow blower?
Use your snow blower whenever snow builds up enough to affect walking or driving, usually after about two inches. During heavy storms, clear the snow in stages every few inches rather than waiting until the end. Light, fresh snow is easier on you and the machine than deep, packed or refrozen snow.
Can beginners use a snow blower safely?
Yes. Beginners can use a snow blower safely by reading the manual, wearing proper gear and never putting hands near the auger or chute. Start with light snow to learn the controls, keep children and pets away and practice turning and adjusting the chute before tackling a big storm. Battery models are especially easy for first time users.
Final Thoughts
Learning how to use a snow blower properly comes down to preparation, safe habits and smart technique: clear the area, dress for the cold, inspect and start the machine correctly, work in steady overlapping passes and clean and store it after each use. With those habits, your machine will clear snow faster and last for many winters. If you are still shopping, see our picks for the best snow blower, read is a snow blower worth it to decide if one suits your home, and check where to buy a snow blower before the next storm arrives.