
How to Use a Compost Bin: Simple Steps, Tips and Mistakes to Avoid
Disclosure: We may earn a commission when you buy through links on this page, at no extra cost to you. As an Amazon Associate I earn from qualifying purchases. Learn more
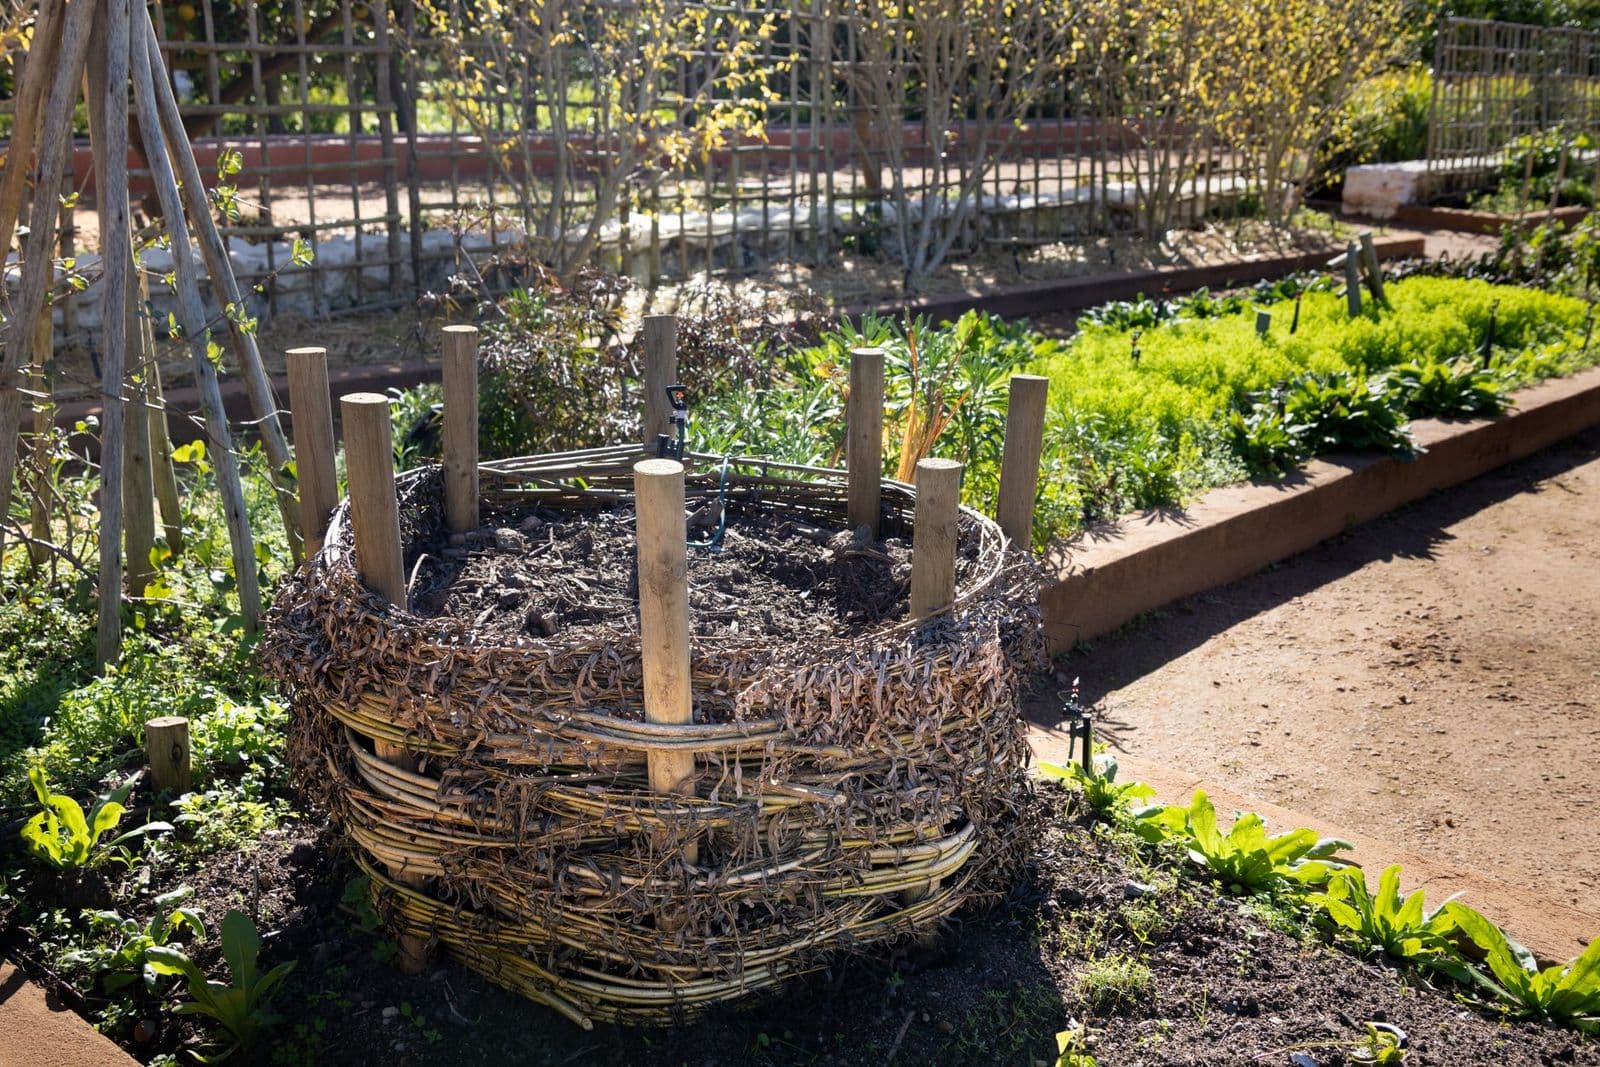
How to use a compost bin: balance greens and browns, keep it damp, turn it often and harvest rich compost in a few months.
Learning how to use a compost bin comes down to a simple routine: put the bin in a convenient spot, layer carbon rich "browns" like dry leaves with nitrogen rich "greens" like kitchen scraps, keep the mix about as damp as a wrung out sponge, and turn or aerate it every week or two. In a few months, the pile breaks down into dark, crumbly compost you can spread on beds and lawns. Most problems, from bad smells to slow piles, come from getting one of those four basics out of balance.
This guide walks through the full process, from setup and safety to harvesting finished compost, plus pro tips and the mistakes that trip up most beginners. It works for stationary bins, compost tumblers and homemade enclosures alike.
Before You Start: Safety and Prep
Composting is safe and low effort, but a little preparation prevents odors, pests and frustration. Start by choosing a level, well drained spot that is easy to reach from the kitchen in every season. Partial shade helps keep the pile from drying out in summer, while a spot with some sun helps it stay active in cooler months. Keep the bin a few feet from fences and walls so you can work around it.
Check local rules too. Some towns have guidelines on bin placement or require closed bins in urban areas to keep wildlife out. If you live where rodents or raccoons are common, a fully enclosed bin or tumbler is the safer choice.
For personal safety, wear gloves when handling compost, especially if you have cuts on your hands, and wash up afterward. Wear a dust mask if you are turning a very dry pile, since dry organic matter can release dust and mold spores. Keep a dedicated pitchfork or aerator tool nearby, plus a small lidded caddy in the kitchen so collecting scraps is easy.
How to Use a Compost Bin Step by Step
These six steps cover the full cycle, from an empty bin to finished compost. Follow them in order the first time, then settle into the weekly rhythm of adding, moistening and turning.
Step 1: Pick the right bin and spot
Choose a bin that matches how much waste you produce and how much effort you want to spend. Stationary bins hold a lot and suit yards with plenty of leaves and garden waste. Compost tumblers are enclosed and easy to turn, which makes them popular for smaller yards and people who want faster results. If you are still deciding, our guide to the best compost bin for beginners compares easy options. Set the bin on bare soil if possible, so worms and microbes can move in from below.
Step 2: Start with a base layer of browns
Begin with 4 to 6 inches of coarse brown material such as dry leaves, straw, shredded cardboard or small twigs. This base layer improves airflow and drainage at the bottom of the pile. Browns are rich in carbon and give structure to the mix, which prevents the soggy, airless conditions that cause bad smells.
Step 3: Add greens and browns in balance
Add green materials like fruit and vegetable scraps, coffee grounds, tea bags and fresh grass clippings, then cover each addition with a layer of browns. A common rule of thumb is about two to three parts browns to one part greens by volume. If you only add kitchen scraps, the pile will turn wet and smelly; if you only add leaves, it will barely break down. Chop or tear larger pieces to speed decomposition.
Good greens include vegetable peels, fruit cores, coffee grounds with paper filters, tea leaves, plant trimmings and fresh weeds without seeds. Good browns include dry leaves, straw, shredded newspaper, plain cardboard, sawdust from untreated wood and pine needles in moderation. Eggshells are fine too; crush them first so they break down faster.
Step 4: Keep the pile moist, not wet
Microbes need water to work. Aim for the feel of a wrung out sponge: damp throughout, but not dripping when squeezed. In dry weather, sprinkle water as you add layers. If the pile is soggy, mix in more dry browns and leave the lid open for a few hours on a dry day. Grab a handful from the middle every week or so; that quick test tells you more than looking at the surface, which often dries out first.
Step 5: Turn or aerate regularly
Oxygen keeps composting fast and odor free. Turn a stationary pile with a pitchfork every week or two, moving material from the edges into the center. Tumblers make this easy with a few spins. An active, well balanced pile often warms up in the center, a sign that microbes are busy breaking things down. If the center stays cold for weeks, the pile usually needs more greens, more water or simply more volume, since very small piles struggle to hold heat.
Step 6: Harvest and use finished compost
Compost is ready when it looks dark, crumbly and earthy, and you can no longer recognize most of the original materials. Depending on the season and how often you turn it, that usually takes a few months. Screen out any large pieces and return them to the bin. Spread finished compost on vegetable beds, mix it into potting soil or top dress the lawn. Store extra compost covered so it stays moist. A one to two inch layer worked into the top of garden beds each spring is enough to improve soil structure and feed plants through the season.
Pro Tips for Better Results
Small habits make a big difference in how fast and clean your compost turns out.
- Stockpile browns. Save bags of fall leaves or shredded cardboard so you always have carbon on hand to balance kitchen scraps.
- Chop before you drop. Smaller pieces break down far faster. A few cuts with a knife or a pass with the mower on leaves speeds everything up.
- Use two bins. Let one batch finish while you add fresh material to the other, so you always have compost maturing.
- Add a shovel of soil or finished compost. It introduces microbes that kick start a new pile.
- Keep a kitchen caddy. A small lidded container by the sink makes daily collection easy and reduces trips outside.
- Cover fresh scraps. Always bury new greens under browns to discourage fruit flies and pests.
If you are still weighing whether composting suits your household, our guide on is a compost bin worth it covers the costs and benefits in more detail.
Common Mistakes to Avoid
Most composting problems trace back to a handful of avoidable errors. The good news is that every one of them is easy to fix once you spot it, and a neglected pile can usually be rescued in a week or two with fresh browns, water and a thorough turn.
- Adding meat, dairy, oils or pet waste. These attract pests, create strong odors and can carry pathogens in a home bin.
- Too many greens. A pile of only kitchen scraps or grass clippings turns slimy and smells of ammonia. Add browns.
- Letting it dry out. A dry pile stops decomposing. Water it during hot spells.
- Never turning it. Without oxygen, compost slows down and can smell sour. Turn it regularly.
- Adding diseased plants or weeds with seeds. Home piles may not get hot enough to kill them, so they can spread back into your garden.
- Using compost before it is finished. Unfinished compost can tie up nitrogen in the soil and harm young plants.
Frequently Asked Questions
How often should I use a compost bin?
Add kitchen scraps as often as you produce them, ideally every day or two, and always cover them with browns. Turn or aerate the pile about once every one to two weeks. Check moisture weekly, especially in hot or dry weather, so the microbes keep working steadily.
Can beginners use a compost bin safely?
Yes. Composting is one of the easiest garden projects for beginners. Wear gloves, wash your hands afterward, avoid meat, dairy and pet waste, and keep the bin closed if pests are common. Starting with a tumbler or an enclosed bin makes the process even simpler.
How long does it take to make compost?
A well balanced, regularly turned bin can produce finished compost in about two to four months in warm weather. Cooler temperatures, infrequent turning or an unbalanced mix can stretch that to six months or longer. Tumblers often finish faster than open bins.
Why does my compost smell bad?
A healthy compost bin smells earthy. A rotten egg or ammonia smell means the pile has too many greens, too much water or too little air. Mix in dry browns like shredded cardboard or leaves, turn the pile thoroughly, and leave the lid open for a while to let it breathe. The smell usually fades within days.
What size compost bin do I need?
Small households that compost mostly kitchen scraps do well with a bin or tumbler of around 30 to 80 gallons. Homes with big gardens, lots of leaves or several people may need a larger stationary bin or two bins. Our guide to the best compost bin for heavy duty use covers large capacity options.
Final Thoughts
Once you know how to use a compost bin, the routine is simple: balance greens and browns, keep the pile damp, turn it often and harvest when it is dark and crumbly. If you need a new bin, see our picks for the best compost bin, and our guide on where to buy a compost bin explains where to find good prices.


